
DIY Faucet Valve Seat Replacement Guide
Did you know a leaky fixture can waste over 3,000 gallons of water a year? That’s enough to fill a small swimming pool! A quick parts swap saves cash and water—no pro plumber required.
We’ve simplified the repair process. Armed with tools and parts from Installation Parts Supply, you’ll fix drips quickly. Avoid expensive service calls and live leak-free with faucet seats.
Adhere to these instructions for an easy replacement. Top-grade parts deliver durability and boost your DIY confidence.
Critical Findings
- Leaky valves hike bills—fast fixes go a long way.
- Tackling it yourself cuts out plumber fees.
- High-quality parts from trusted suppliers improve durability.
- User-friendly steps plus simple tools make it easy.
- Routine care prolongs fixture lifespan.
Why You Should Replace Worn Valve Seats
A tiny leak feels minor—until it causes major issues. Worn components in your plumbing waste water, hike up bills, and risk damage to your home. Addressing leaks promptly prevents expense and disruption.
Spotting a Faulty Valve Seat
Look out for:
- Persistent drips even with the faucet off.
- Uneven flow or sudden spurts.
- Corrosion spots or pitting on metal.
For example, a kitchen leak disrupts cooking and stains sinks. Timely action prevents bigger headaches.
The Mechanics of Valve Seat Wear
Scale buildup plus friction break down components. Microscopic cracks let water leak through. Valve seat corrosion, if unaddressed, can destroy the unit.
Count on Installation Parts Supply for robust parts. Their components fend off scale and maintain a solid seal.
A fast leaking faucet repair shaves up to 3,000 gallons off your annual usage!
Required Tools & Parts
Good tools plus quality parts deliver lasting repairs. Whether you’re tackling a minor drip or a stubborn leak, the right supplies save time and hassle. Gather these items first:
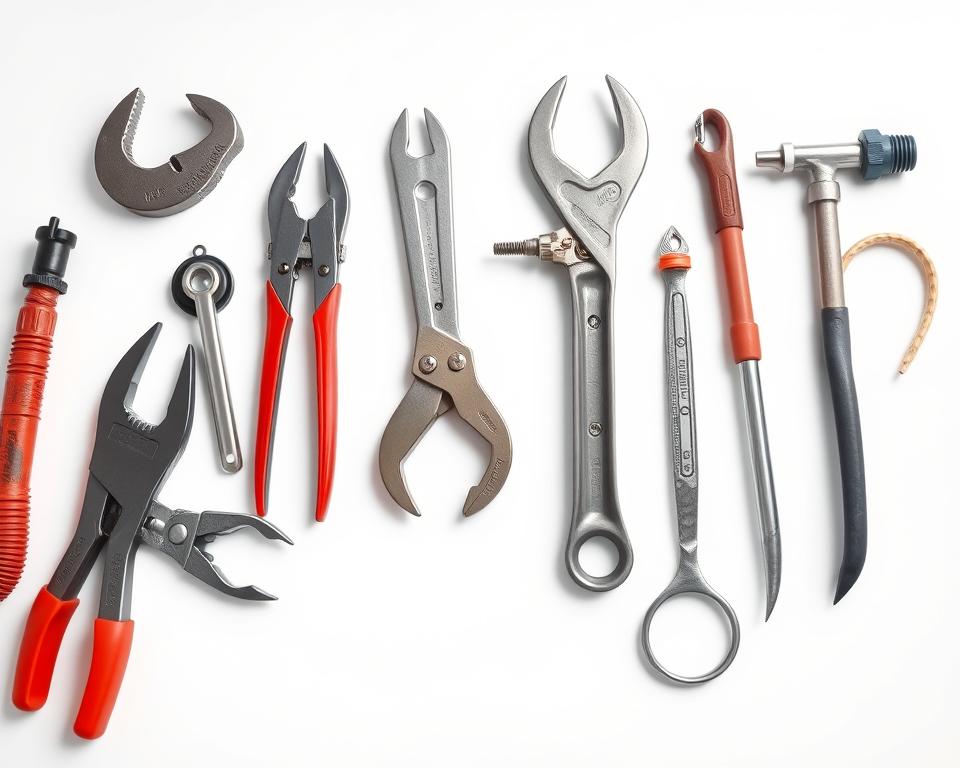
Tools You Need
Your minimal toolset:
- Adjustable wrench—to loosen retaining nuts.
- Seat wrench: Removes worn seats efficiently.
- Phillips and flat-head screwdrivers for disassembly.
- Pliers—to hold and remove pins.
A grinding tool helps smooth out rough seats. Stock a faucet repair kit that includes seats, washers, O-rings.
Buying Parts
Skip generic parts that wear out quickly. Installation Parts Supply offers durable, compatible components nationwide. Their repair kits bundle all necessary parts plus guidance.
| Essential Tools | Extras |
|---|---|
| Adjustable spanner | Valve-seat grinder |
| Seat wrench | Torch (for stubborn parts) |
| Repair kit | Pipe cutter |
Investing in reliable tools and parts pays off. Your fixtures will stay leak-free longer.
Valve Seat Replacement Steps
End water waste with this easy DIY repair anyone can do. Newbies and experts alike will find this guide clear. Ready your tools and dive in.
Step 1: Shut Off Water and Disassemble the Fixture
Shut off water by turning the supply valves clockwise. Turn the faucet on to drain any water left. Use a screwdriver to remove the handle, then unscrew the retaining nut with an adjustable wrench.
Pro Tip: Label parts with tape to simplify reassembly. Consider Installation Parts Supply’s rust-resistant nuts for longevity.
Step 2: Take Out Old Seat
Check for buildup and wear. Insert your seat tool into the old seat and twist CCW. If stuck, spray penetrating oil and let it soak for 10 minutes.
| Typical Issues | Fixes |
|---|---|
| Stuck seat | Use heat (carefully) or a locking plier |
| Damaged threads | Swap out the housing assembly |
Step 3: Fit New Seat
Brush off debris from the threads. Position the new *replace valve seat* from *Installation Parts Supply* and tighten by hand. Finish with the wrench, but avoid over-tightening to prevent cross-threading.
Step 4: Put It Back Together & Test
Put everything back together in reverse. Open the shutoff valves gradually. Inspect for drips and gently tighten as required. A successful DIY faucet repair saves water and money!
Conclusion
Your home deserves hassle-free plumbing that stands the test of time. Addressing issues promptly conserves water and money.
Armed with these instructions, you’ll repair like a pro. For lasting results, trust Installation Parts Supply—their durable parts resist wear and leaks.
Add these faucet maintenance tips to your routine: inspect washers annually and tighten loose handles promptly. Small efforts now avoid big repairs later.
Time to get started—collect your tools and banish drips for good.